Introduction
In today’s fast-paced world, homeowners are looking for smarter, more efficient ways to manage their lawns without spending endless weekends pushing a heavy mower. That’s where the robotic lawn mower comes in — a fully automated, battery-powered, and intelligent device that can keep your grass perfectly trimmed while you relax.
Whether you own a small backyard or manage a large property, a robotic mower offers a hands-free solution that saves time, reduces effort, and delivers consistent results. However, to get the best performance from your mower, proper setup is essential.
In this comprehensive guide, we’ll walk you through how to set up a robotic lawn mower from start to finish. We’ll cover everything from choosing the right installation location to configuring mowing zones, along with pro tips to optimize performance.
Why Choose a Robotic Lawn Mower for Your Lawn
1. Time-Saving Convenience

Gone are the days of pushing a heavy lawn mower under the summer sun. With a wireless robotic lawn mower or auto lawn mower robot, you can set a schedule, and the mower will handle the rest — even returning to its charging station automatically when the battery runs low.
How Does a Robotic Lawn Mower Work?Some advanced models, like the automatic lawn mower robot and the robot lawn mower no wire, make setup even easier by eliminating the need for boundary wires, allowing you to start mowing right away.
2. Consistent and Healthy Lawn Care
Robotic mowers trim grass regularly, encouraging healthier growth. Since they cut only a small amount each time, the grass clippings act as a natural fertilizer, improving soil quality.
For larger properties, choosing a large robotic lawn mower for 1 acre ensures full coverage, keeping the entire lawn evenly maintained.
3. Eco-Friendly and Quiet Operation
Models like battery-powered robot lawn mowers produce zero direct emissions and operate quietly, making them ideal for neighborhoods and environmentally conscious homeowners.
4. Perfect for All Yard Sizes
Whether you have a robot lawn mower for small yards or a robotic lawn mower for large lawns, these devices adapt to different property sizes. Many models now come with advanced mapping technology, making them ideal for properties up to 2 acres or even 2.5 acres.
Businesses and institutions often rely on commercial robotic lawn mowers or industrial robot lawn mowers to maintain large fields efficiently with minimal manpower.
Tools and Preparations Before You Start
Before setting up your mower, a few important preparations will ensure smooth operation:
Stable Connectivity
Your mower will require a stable Wi-Fi or mobile hotspot connection and reliable Bluetooth signal to connect to its app and receive updates.
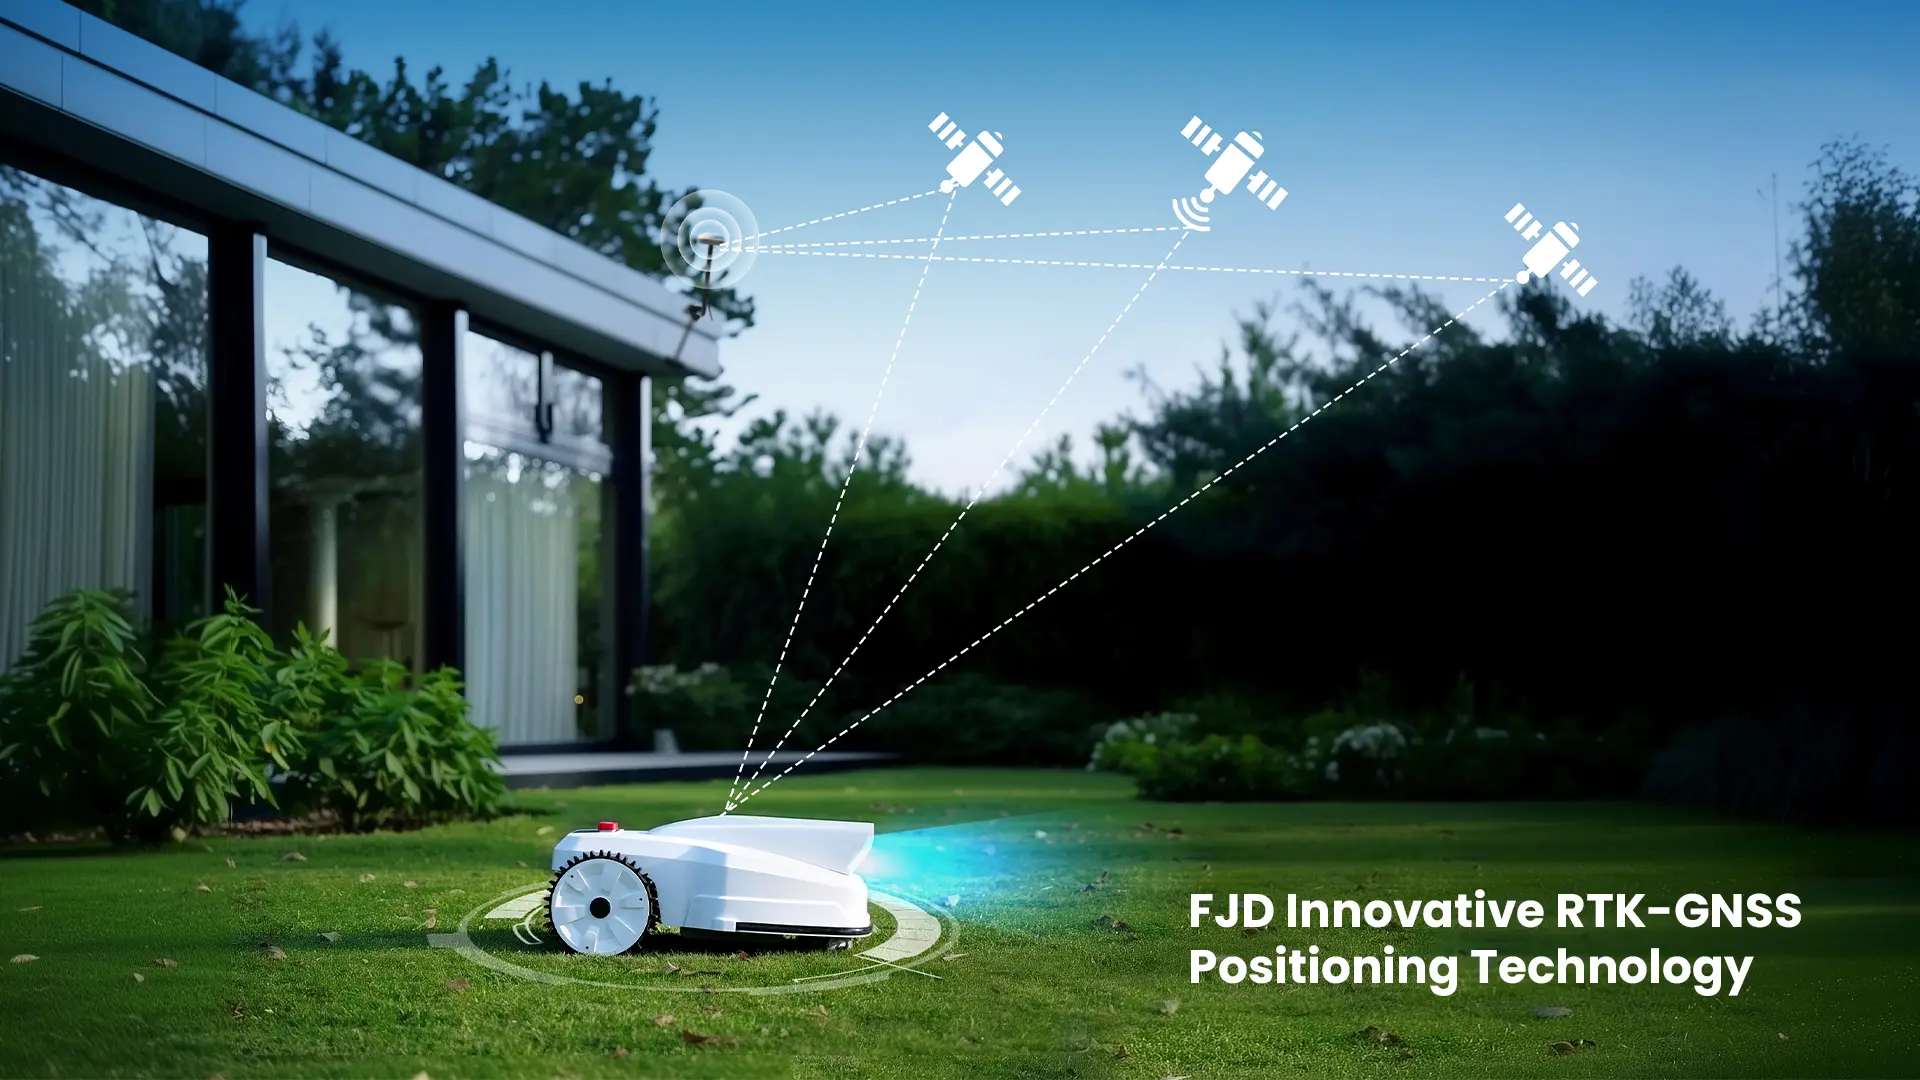
RTK Base Station Installation Requirements (for GPS-based mowers)
Install in an open area with minimal obstructions.
Place as high as possible for maximum signal coverage.
Keep at least 500 meters away from cellular towers, high-voltage cables, and bodies of water. Ensure access to a wired power supply.

Charging Station Installation Requirements
- Place on a level surface.
- Maintain at least 2 meters of unobstructed space in front and 1.5 meters on each side.
- Grass under the station should be no longer than 5 cm.
- Keep away from walls and ensure easy access to power.
If your terrain is uneven or includes slopes, it’s worth considering an all terrain robot lawn mower or a robot lawn mower for hills to ensure stability and precise cutting.
Step-by-Step Guide to Setting Up a Robotic Lawn Mower
Step 1 – Choose the Right Location for the Charging Station

Media heading
The charging station is the “home” of your mower. Place it on a flat surface with easy access for the mower to dock and recharge. Avoid shaded or enclosed areas, as these can interfere with GPS reception and navigation.
Step 2 – Install the RTK Base Station (if applicable)
For advanced GPS mowers, the RTK base station provides precise location data. Mount it high, in an open space, and ensure it’s permanently fixed after installation.
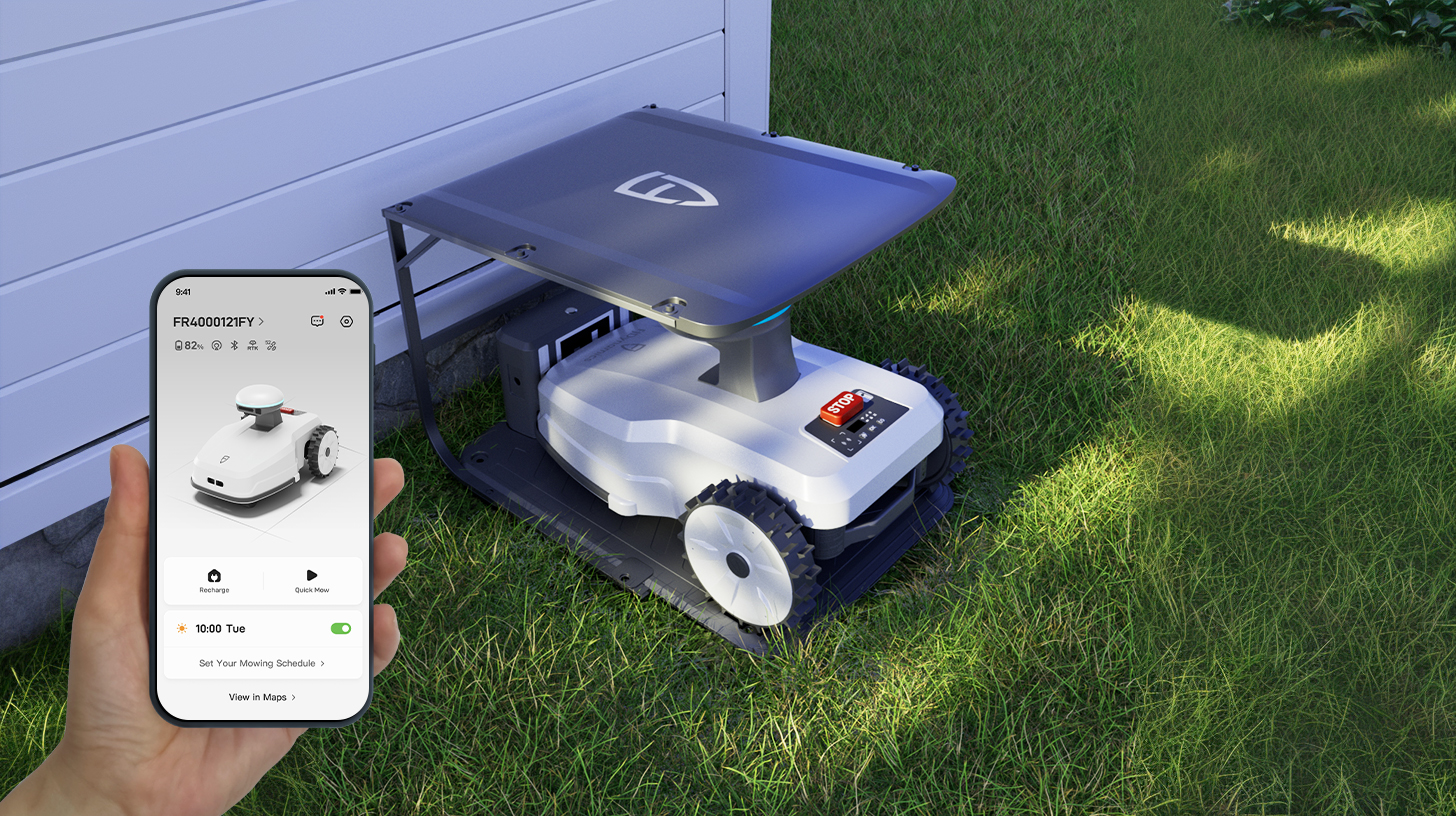
Step 3 – Download and Connect to the Mobile App
- Download the official app from your device’s app store.
- Register an account and log in.
- Follow the pairing instructions to connect your mower via Bluetooth or Wi-Fi.
Step 4 – Configure Mowing Zones and Boundaries
Depending on your model, you can set boundaries with perimeter wires or go completely boundaryless with a robot lawn mower without perimeter wire. Using the app, mark your mowing areas and exclude obstacles like flower beds or trees.
Many modern models, such as wire-free robot lawn mowers or boundaryless robotic lawn mowers, provide app-based virtual mapping, which makes setup faster and more flexible.
Step 5 – Schedule Your Mowing Tasks
Most mowers allow you to set daily or weekly mowing times. For example, you can schedule early-morning cuts during cooler temperatures to reduce battery strain.
Step 6 – Safety Checks Before First Use
Ensure there are no loose objects, toys, or branches in the mowing area. Test the mower in a small section first to confirm proper navigation.
Tips for Getting the Best Performance from Your Robotic Lawn Mower
- Optimize mowing times – Avoid wet grass and schedule mowing during cooler parts of the day.
- Maintain the battery – Keep the charging contacts clean and avoid complete battery drain.
- Adapt to terrain – For slopes and rough areas, choose a robot lawn mower for hills or all-terrain robot lawn mower with stronger traction.
- Winter storage – Store the mower indoors during the off-season to protect the battery and electronics.
- If you prefer advanced features like remote scheduling and smart home integration, consider investing in a smart robotic lawn mower or a robot lawn mower with app. These options let you control and monitor mowing directly from your phone.
Common Mistakes to Avoid During Installation
- Placing the charging station too close to walls or obstacles.
- Ignoring the RTK base station’s height and distance requirements.
- Skipping the initial test run before full operation.
Conclusion
Setting up a robotic lawn mower is a straightforward process when you follow the right steps — from choosing a good charging station location to configuring mowing zones. Once installed, your mower will work tirelessly, keeping your lawn healthy and beautiful with minimal effort on your part.
Upgrading to a smart lawn care solution is one of the most effective ways to save time and enjoy a perfectly manicured lawn. With the right setup, you’ll get years of efficient, low-maintenance mowing.
Whether you’re searching for an affordable robot lawn mower for small yards or a professional robotic mower for larger properties, the diverse models available today make it simple to choose the right fit.
Our latest robot lawn mower
Check out what's new in our company !