How to Quickly Use the FR4000 Robotic Lawn Mower
The way we maintain our lawns has changed dramatically in the last few years. Gone are the days of sweating under the sun for hours behind a push mower or paying hefty sums for weekly landscaping services. Today, the robotic lawn mower has become a smart homeowner’s best friend — combining convenience, precision, and efficiency in one sleek machine.
Among the latest innovations, the FJDynamics FR4000 Robotic Lawn Mower stands out as a powerful, wireless solution that helps homeowners achieve a perfectly manicured lawn without the hassle of perimeter wires or constant supervision. If you’re curious about how to get started with this mower and want a step-by-step guide, this article will walk you through everything you need to know — from unboxing to daily operation.
Our latest content
Check out what's new in our company !
Why Choose the FR4000 Robotic Lawn Mower?
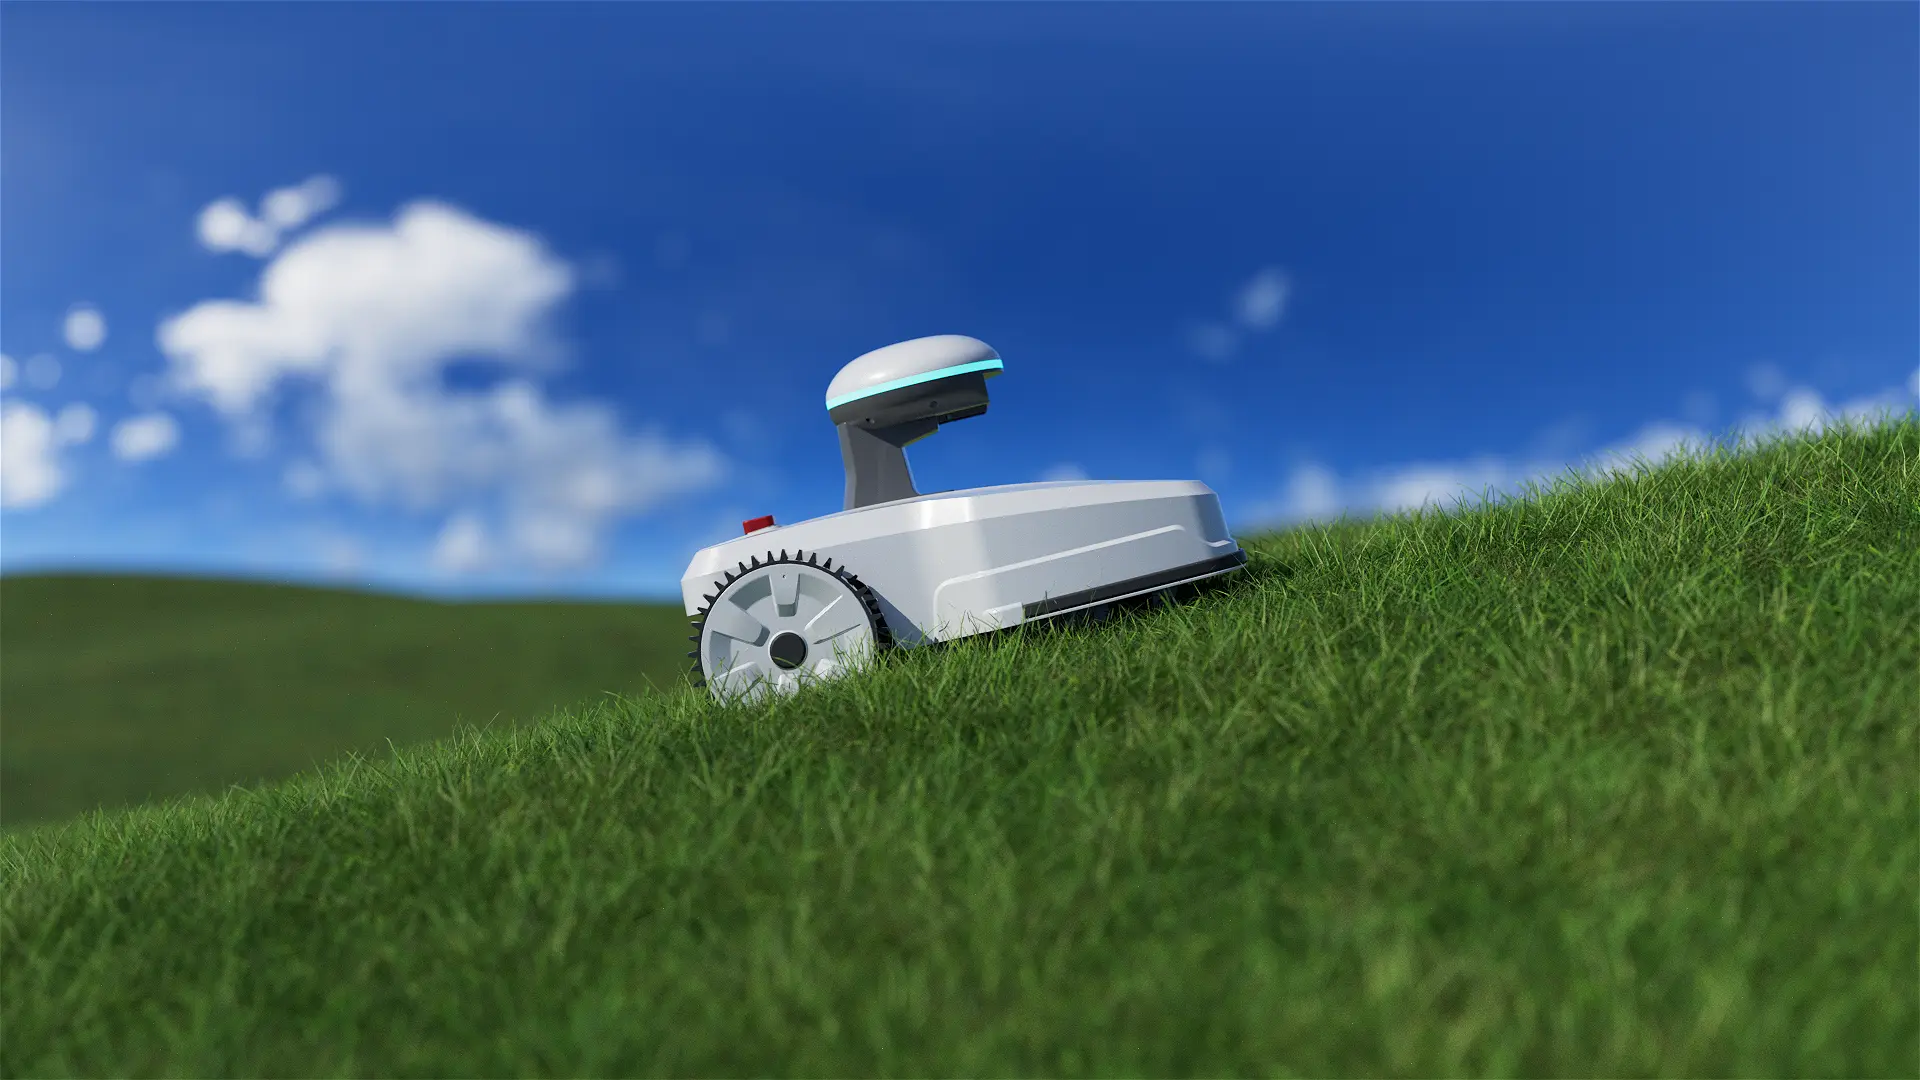
Before diving into setup, here’s why the FR4000 robotic lawn mower stands out: it’s wire-free, covers up to 1 acre, handles slopes, recharges itself, and lets you control everything through a smart app. In short, it’s a fully automated lawn care solution that saves time and keeps your yard flawless.

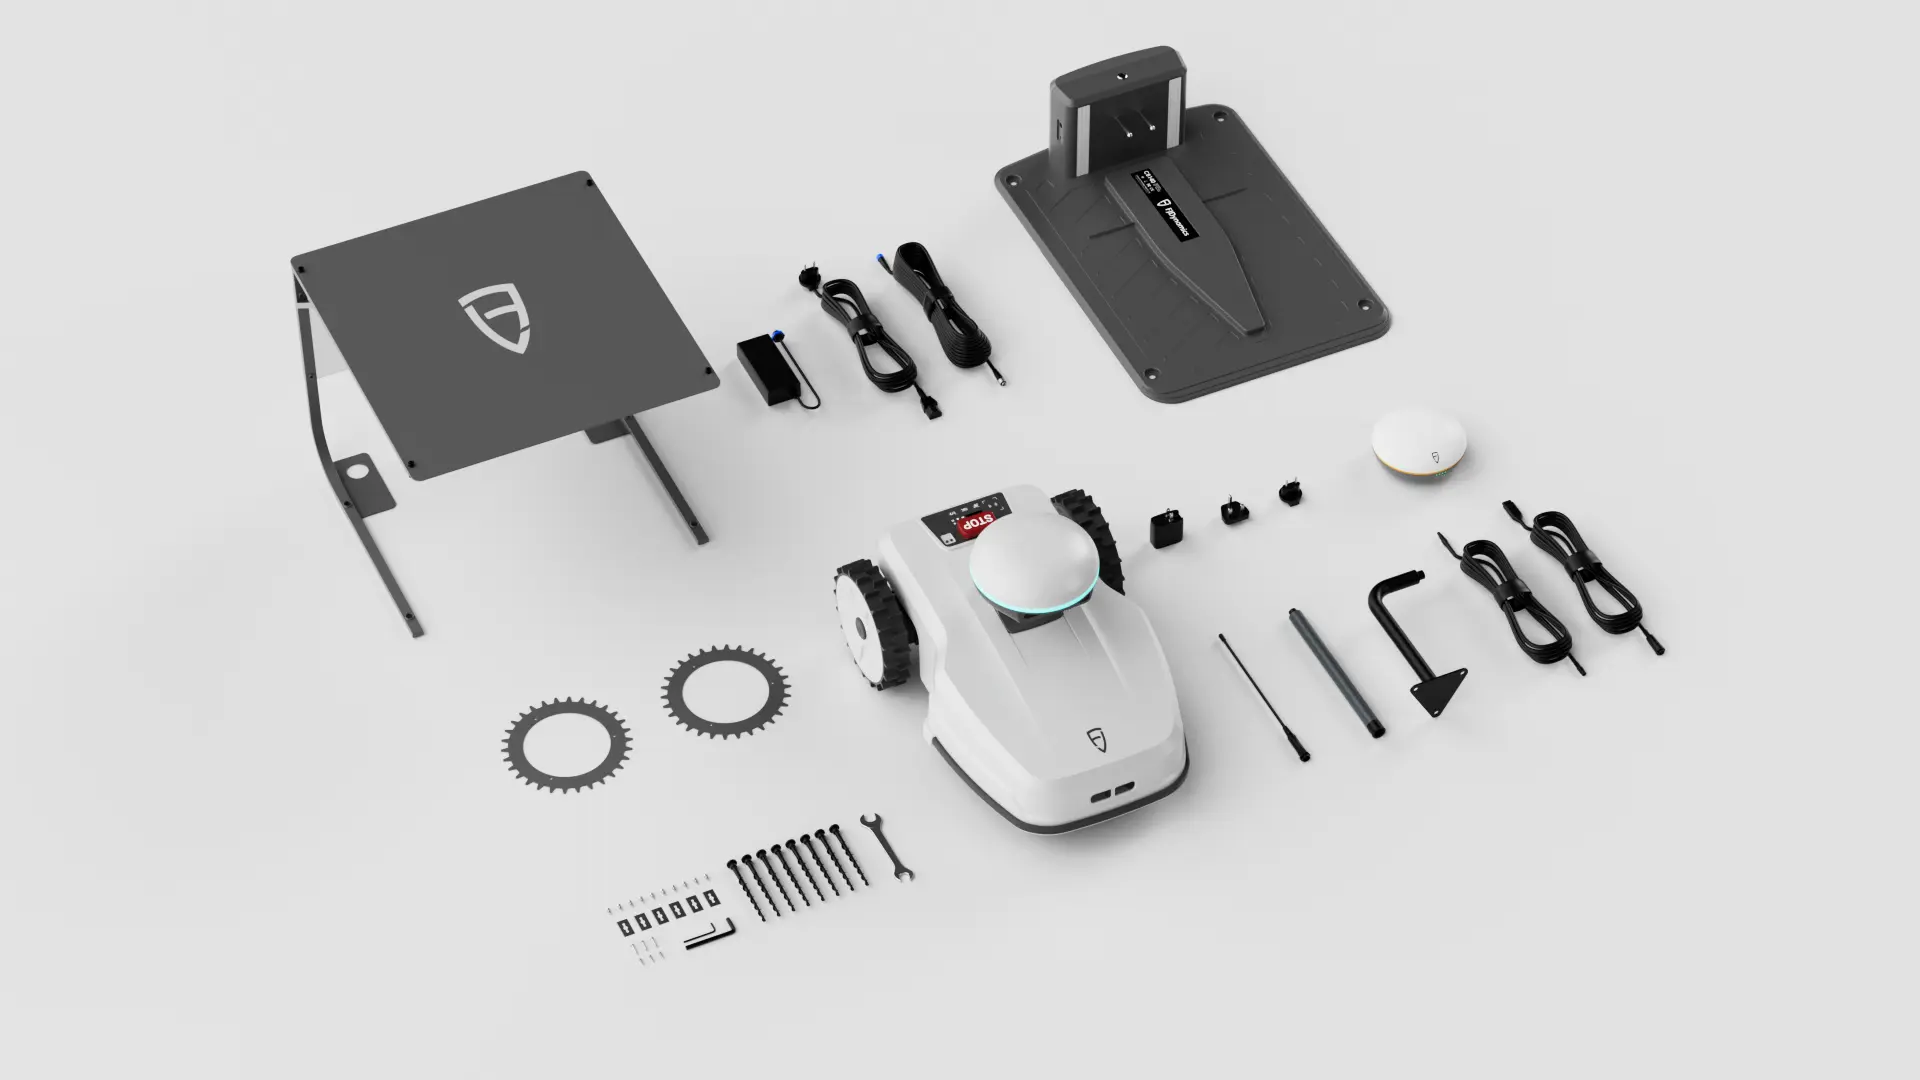
Step 1: Unboxing the FR4000 and What’s Included
When you open your FR4000 package, you’ll find:
- The FR4000 robotic lawn mower unit
- Charging station and garage
- Power adapter and extension cables
- RTK base station (for enhanced positioning)
- Mounting accessories (for ground or rooftop installation)
- User manual and Quick Start Guide
The mower itself is equipped with:
- Dual batteries for extended operation (up to 240 minutes on a full charge)
- Six pivoting stainless-steel blades for precision cutting
- A rain sensor to pause mowing in wet conditions
- Safety features like lift/tilt sensors, emergency stop button, and obstacle detection.
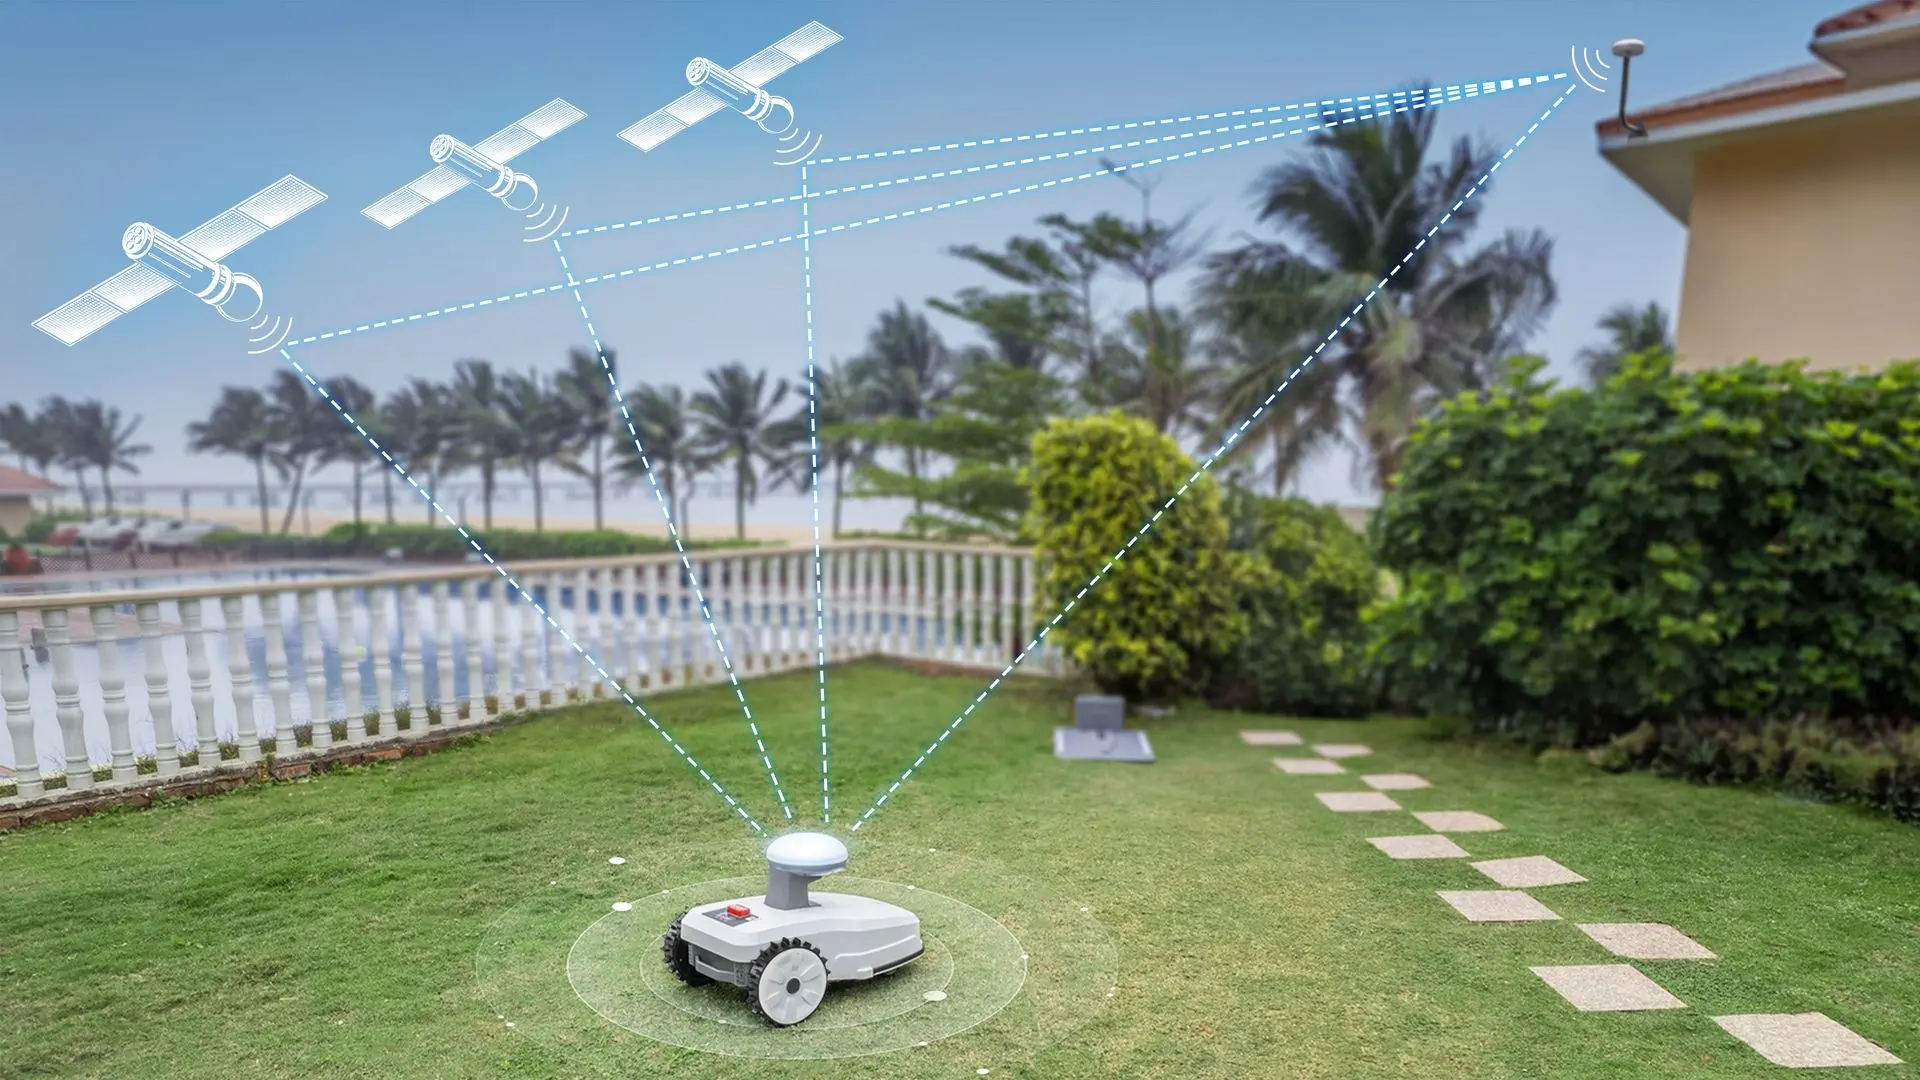
Step 2: Installing the RTK Base Station
One of the defining features of the FR4000 is its boundaryless navigation. Instead of laying messy wires around your yard, the mower relies on industrial RTK technology for centimeter-level accuracy.
Here’s how to set up the RTK base station:
-
Choose the right location:
- Install in an open area with minimal obstructions.
- Keep it at least 500 meters away from high-voltage cables, towers, or lakes.
- A rooftop or wall mount is recommended for stability.
-
Mount the base station:
- Use the included tripod for ground installation or mounting accessories for walls/roofs.
- Ensure the antenna faces upward and has a clear view of the sky.
-
Power it up:
- Connect the DC to USB-C cable and adapter to a stable power source.
- Confirm that the status light indicates a successful connection.
Once installed, the base station provides the FR4000 with a precise map of your yard.
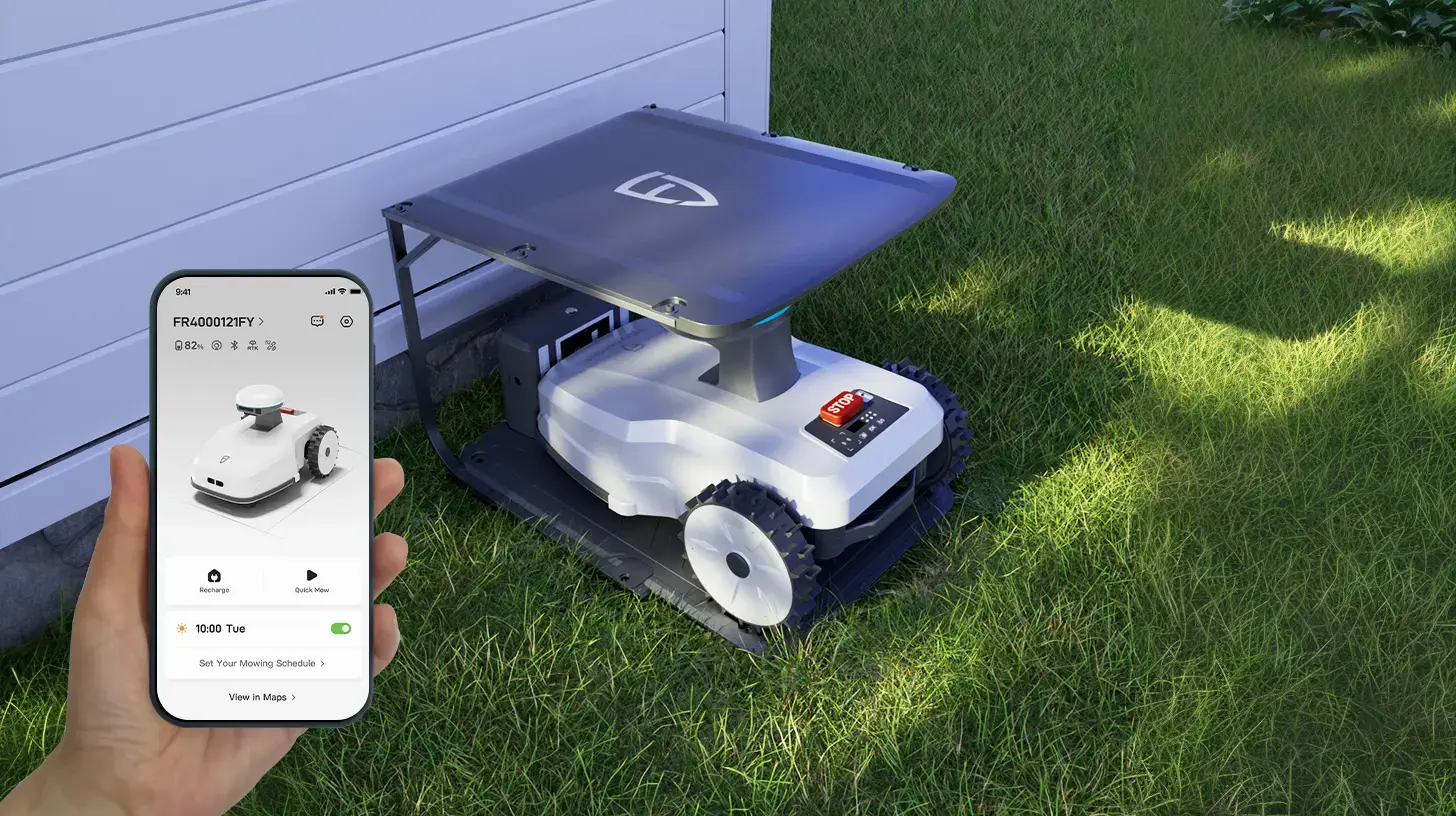
Step 3: Setting Up the Charging Station
The charging dock is where your mower will return after each mowing cycle.
- Place it on a flat, level surface.
- Ensure there’s at least 2 meters of clear space in front and 1.5 meters on either side.
- The grass beneath the dock should be trimmed to less than 5 cm.
- Secure the station to the ground using bolts to prevent movement.
- Connect the adapter and extension cord to indoor power.
Once done, dock the mower for its first charge. You’ll notice the indicator lights blinking, confirming the connection.
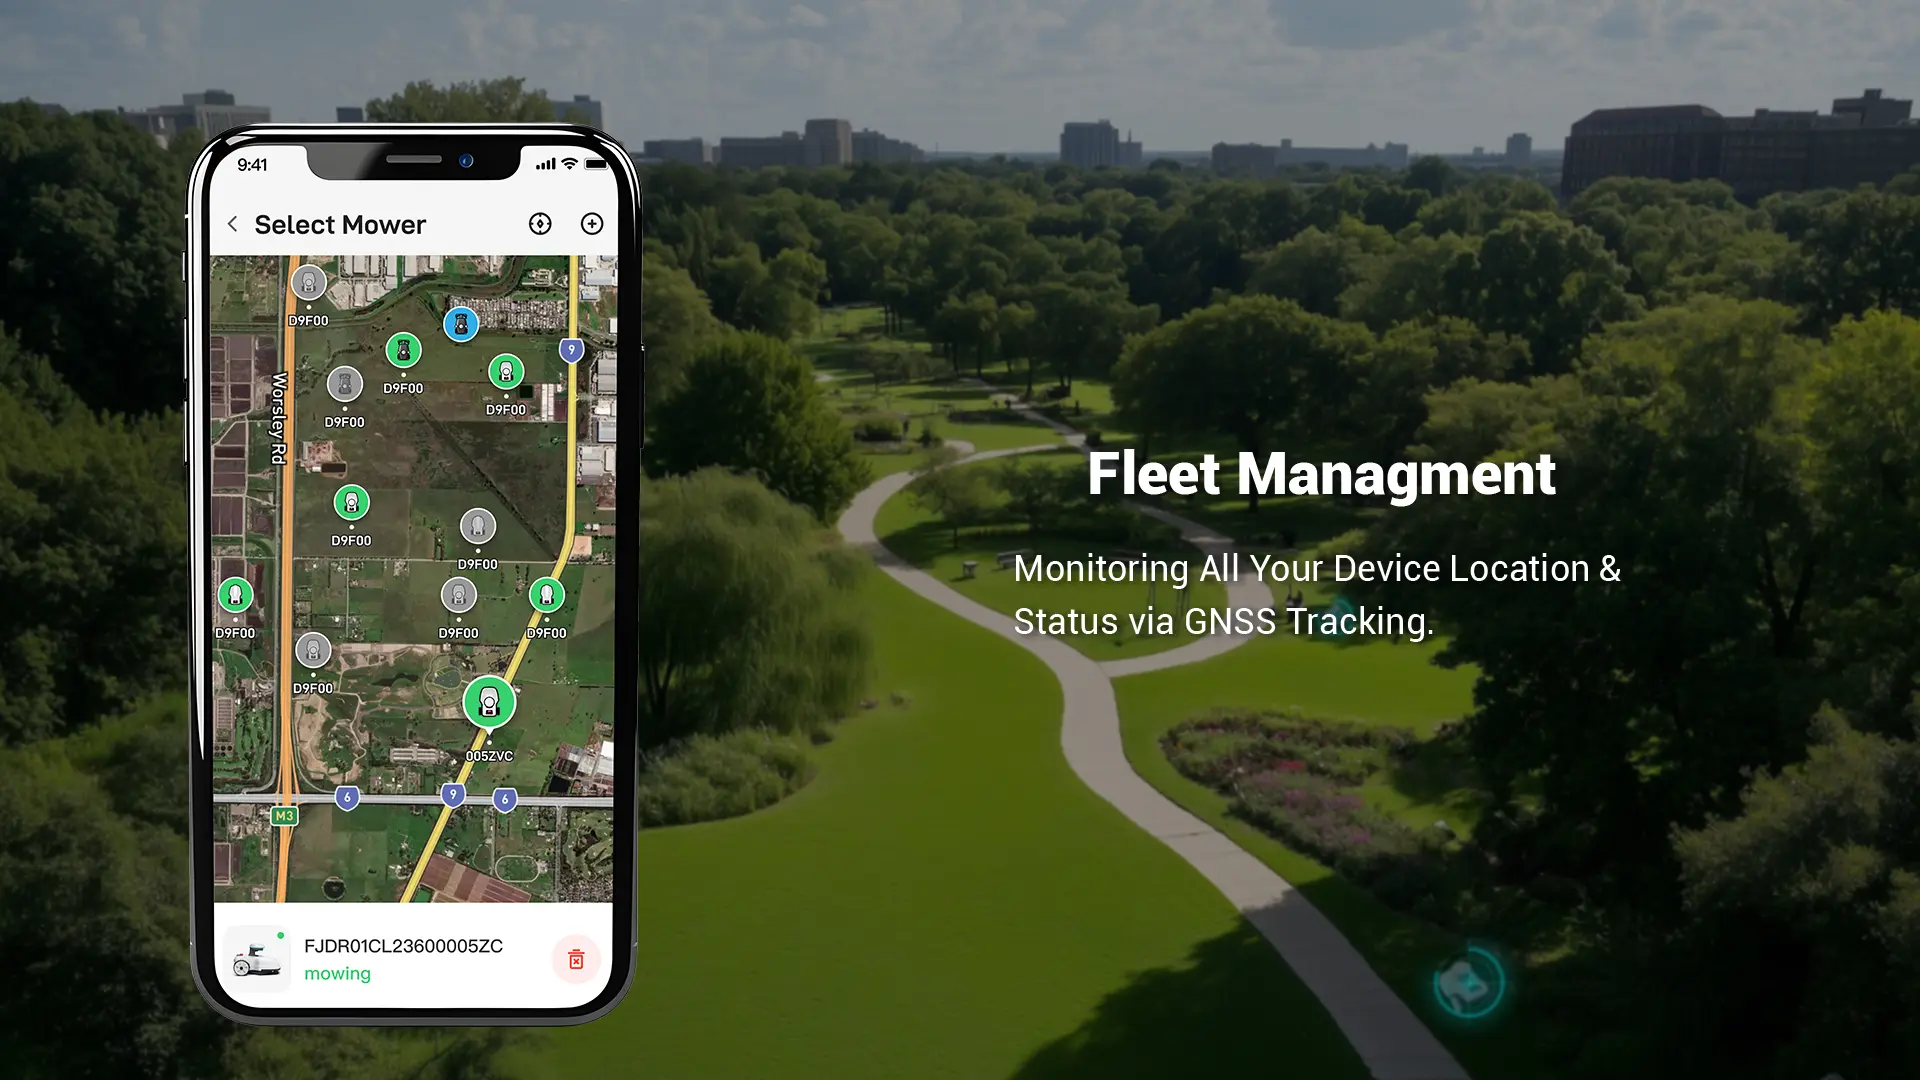
Step 4: Downloading the App and Connecting the Mower
The FR4000 works seamlessly with the FJD Landscaping App (available on iOS and Android).
- Download the app and register an account with your email.
- Power on the mower and connect via Bluetooth.
- Select your Wi-Fi (only 2.4GHz supported) and enter the password.
- Bind the mower to your account and confirm the connection.
This step ensures your mower can receive over-the-air (OTA) updates, sync maps to the cloud, and allow you to control it remotely.

Step 5: Mapping Your Lawn
Mapping is the most exciting part — it’s how your mower learns where to cut.
-
Work Zone Creation:
- Start by driving the mower along the lawn’s edges using the app’s joystick control.
- Solid lines mark boundaries, and dashed lines guide you back to the start.
- Save the map once complete.
-
Passage Setup (for charging stations outside the lawn):
- Drive the mower to create a passage from the dock to the mowing zone.
- Save the passage for future use.
-
No-Go Zones:
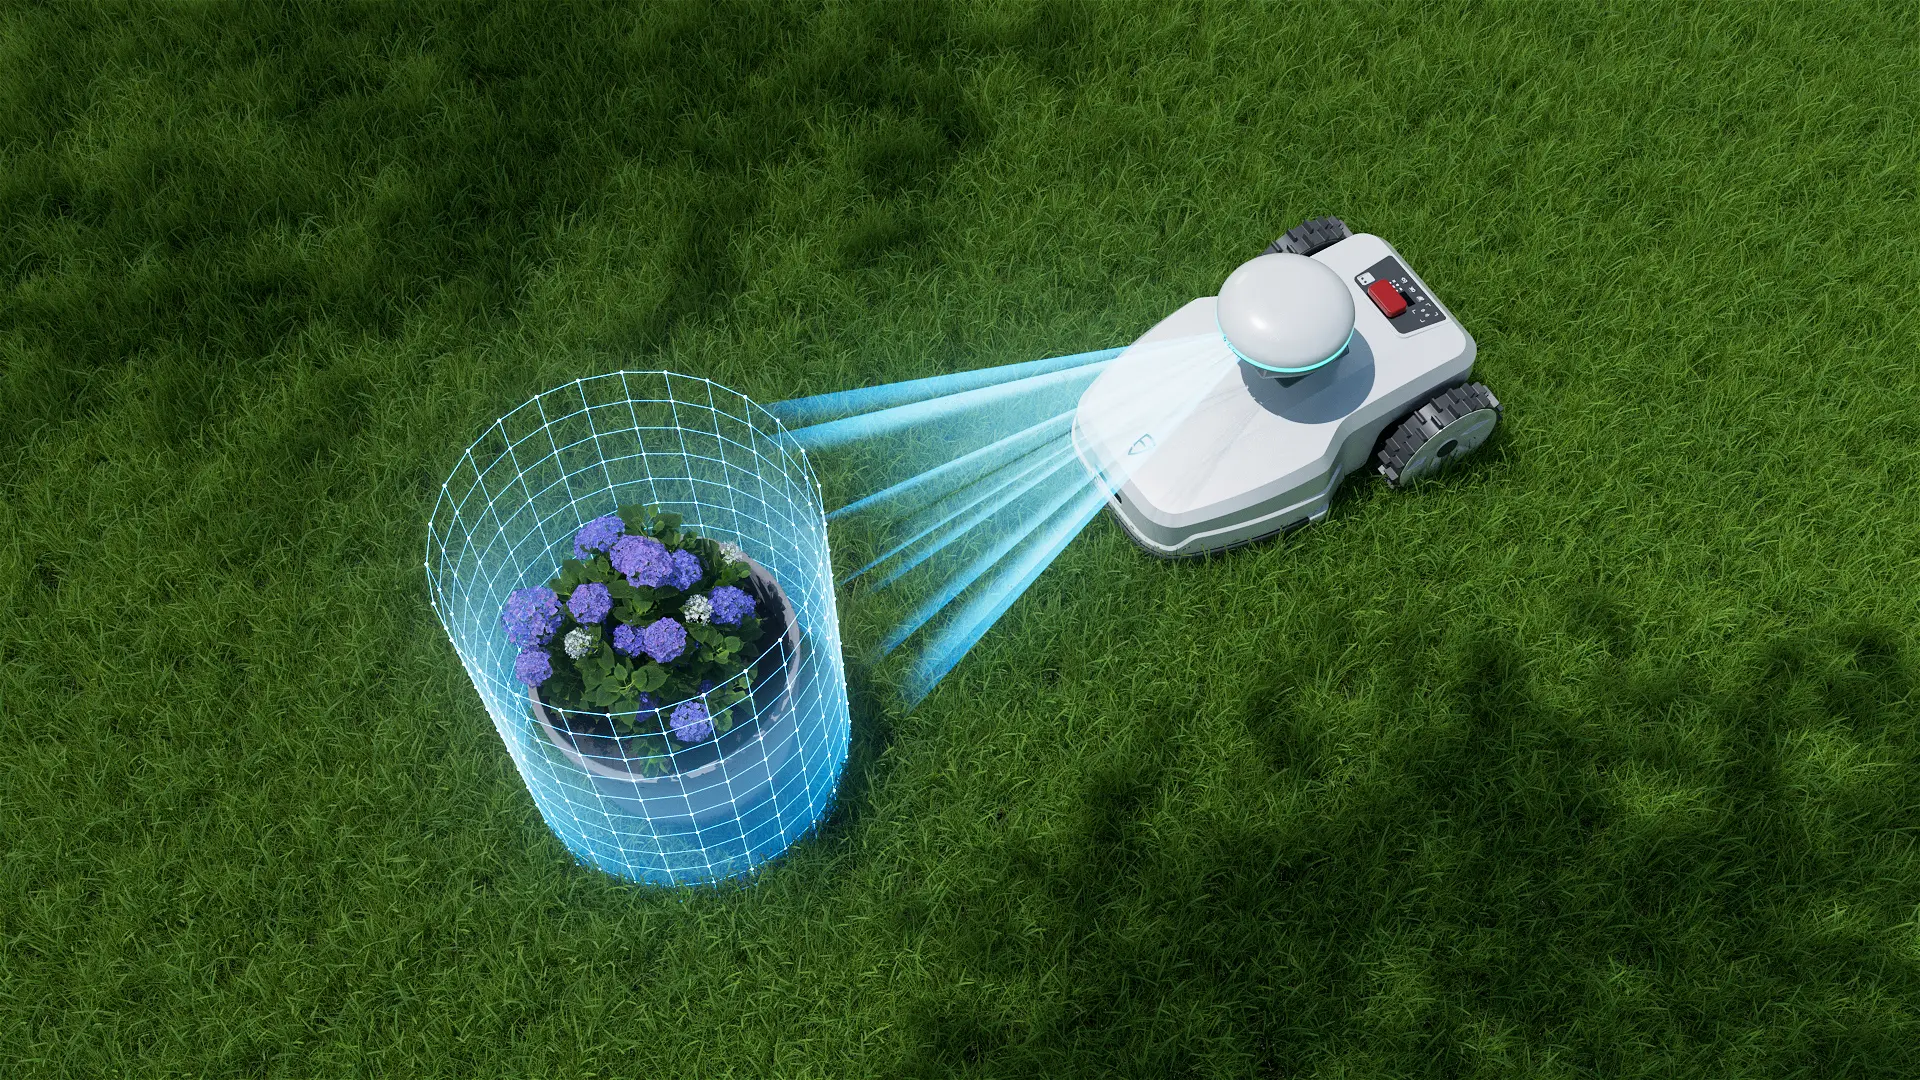
- Create restricted areas (flower beds, pools, toys, etc.) by driving the mower around them.
- The app saves these areas, ensuring the mower avoids them automatically.
The mapping process only needs to be done once, and it can be adjusted anytime through the app.
Step 6: Starting Your First Mow
With everything installed and mapped, you’re ready for your first mow:
- Ensure the lawn is clear of debris, stones, or toys.
- Check that the mower is fully charged.
- In the app, select the zone you want to mow.
-
Choose your cutting settings:
- Blade speed (low, medium, high)
- Travel speed (0.3–0.5 m/s)
- Cutting height (10–50 mm)
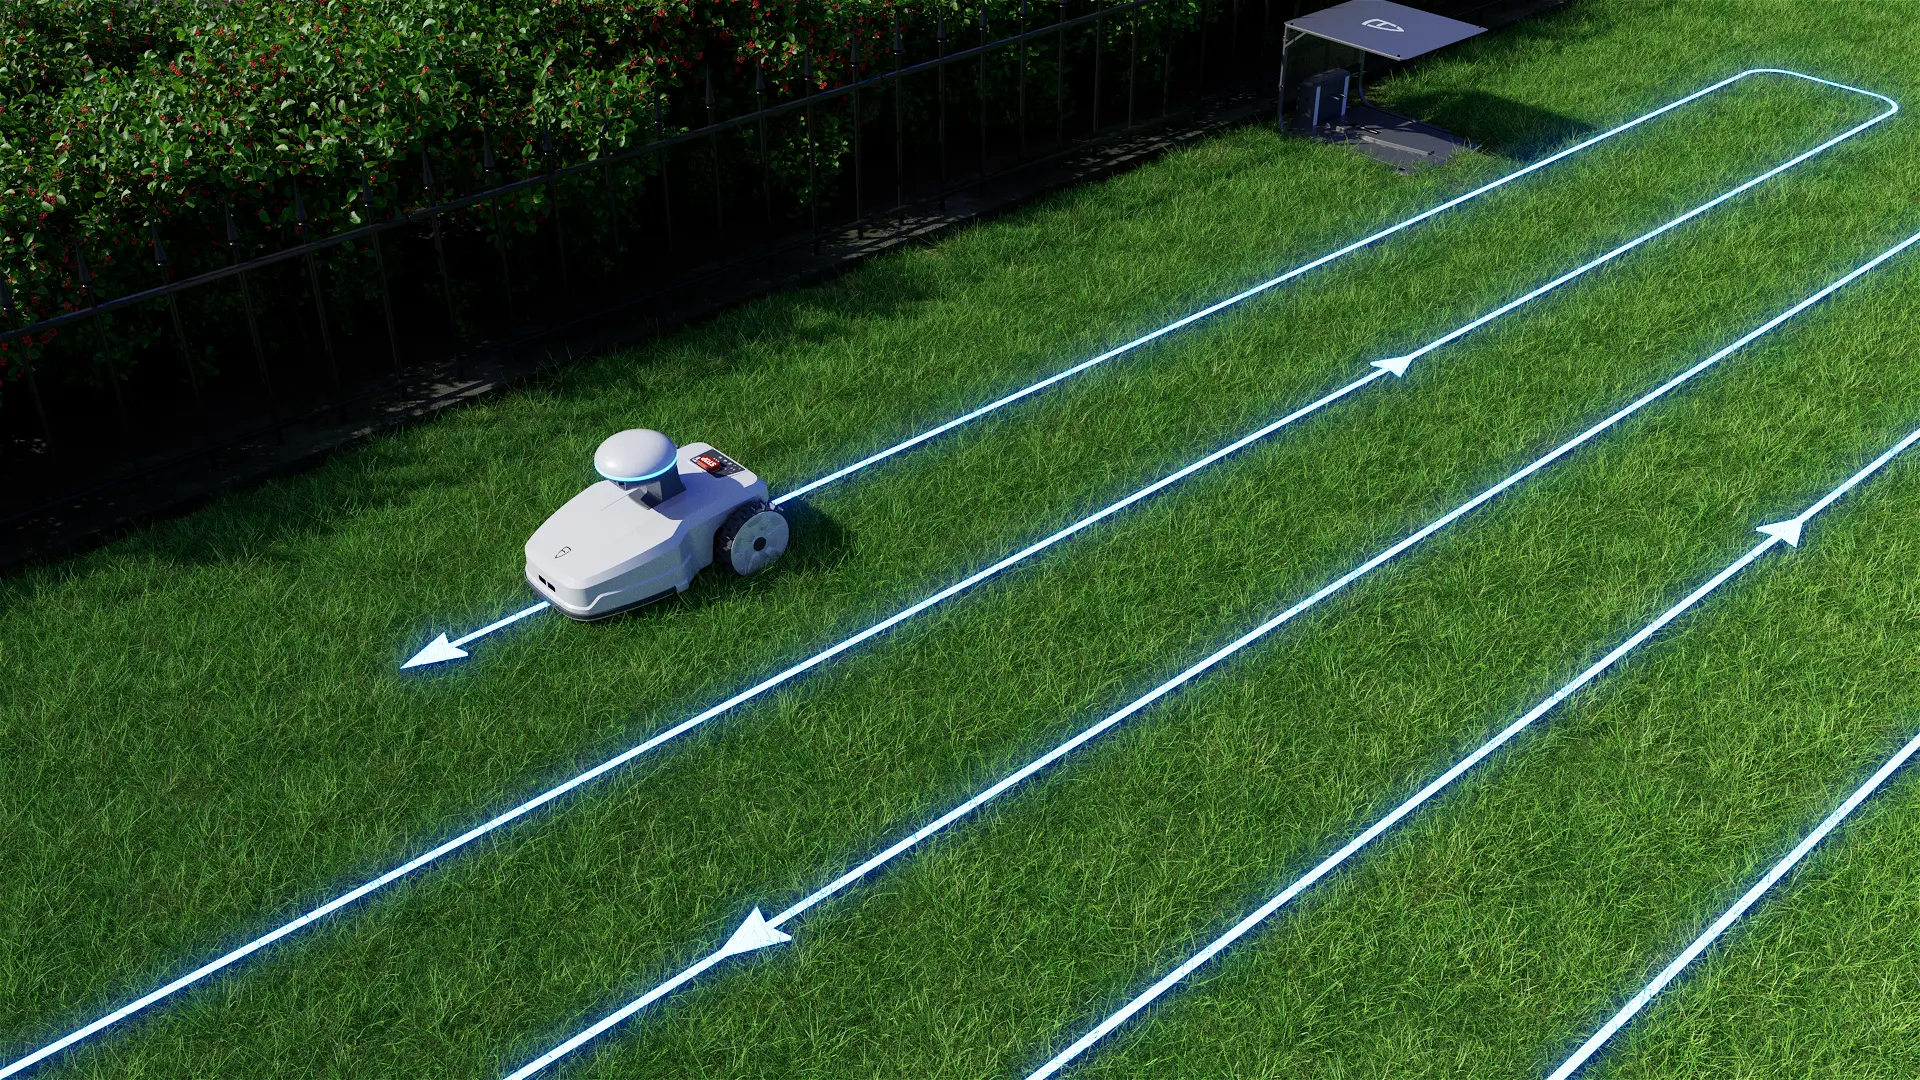
- Press “Start” and watch as the FR4000 creates neat, parallel stripes across your lawn.
The mower will return to the dock automatically once the task is done or when the battery runs low.
Step 7: Scheduling and Smart Features
One of the FR4000’s biggest advantages is automation. Using the app, you can:
- Set mowing schedules: Pick specific days and times for auto-mowing.
- Customize zones: Assign different mowing settings for front yard vs backyard.
- Monitor live progress: Track real-time location, battery percentage, and mowing status.
- Use manual mode: Take control via the app joystick for touch-up areas.
- Enable rain detection: The mower pauses when it detects rain and resumes once dry.
This makes it a truly autonomous robot lawn mower that requires little to no supervision.
Step 8: Safety and Maintenance Tips
Although the FR4000 is designed to be user-friendly, safety should always come first.
- Always keep children and pets away when the mower is in operation.
- Never touch the blades while they are spinning — they continue rotating for a few seconds after shutdown.
- Use gloves when handling or cleaning the blades.
- Clean the mower only when powered off.
- Store the charging station indoors during extreme weather.
- Update the app and firmware regularly for the best performance.
Conclusion: A Smarter Way to Maintain Your Lawn
The FR4000 robotic lawn mower is more than just a gadget — it’s a smart investment in hassle-free lawn care. Whether you own a large yard, a sloped property, or simply value your free time, this mower delivers convenience, precision, and reliability.
By following the steps above — unboxing, installing the RTK base, setting up the charging station, mapping your lawn, and configuring mowing schedules — you’ll be able to quickly start using the FR4000 and enjoy a perfectly manicured lawn with zero stress.
So why spend weekends pushing a mower when a wireless, self-charging robotic lawn mower can do the hard work for you? Visit the FJDynamics Store today and experience the future of lawn care.
